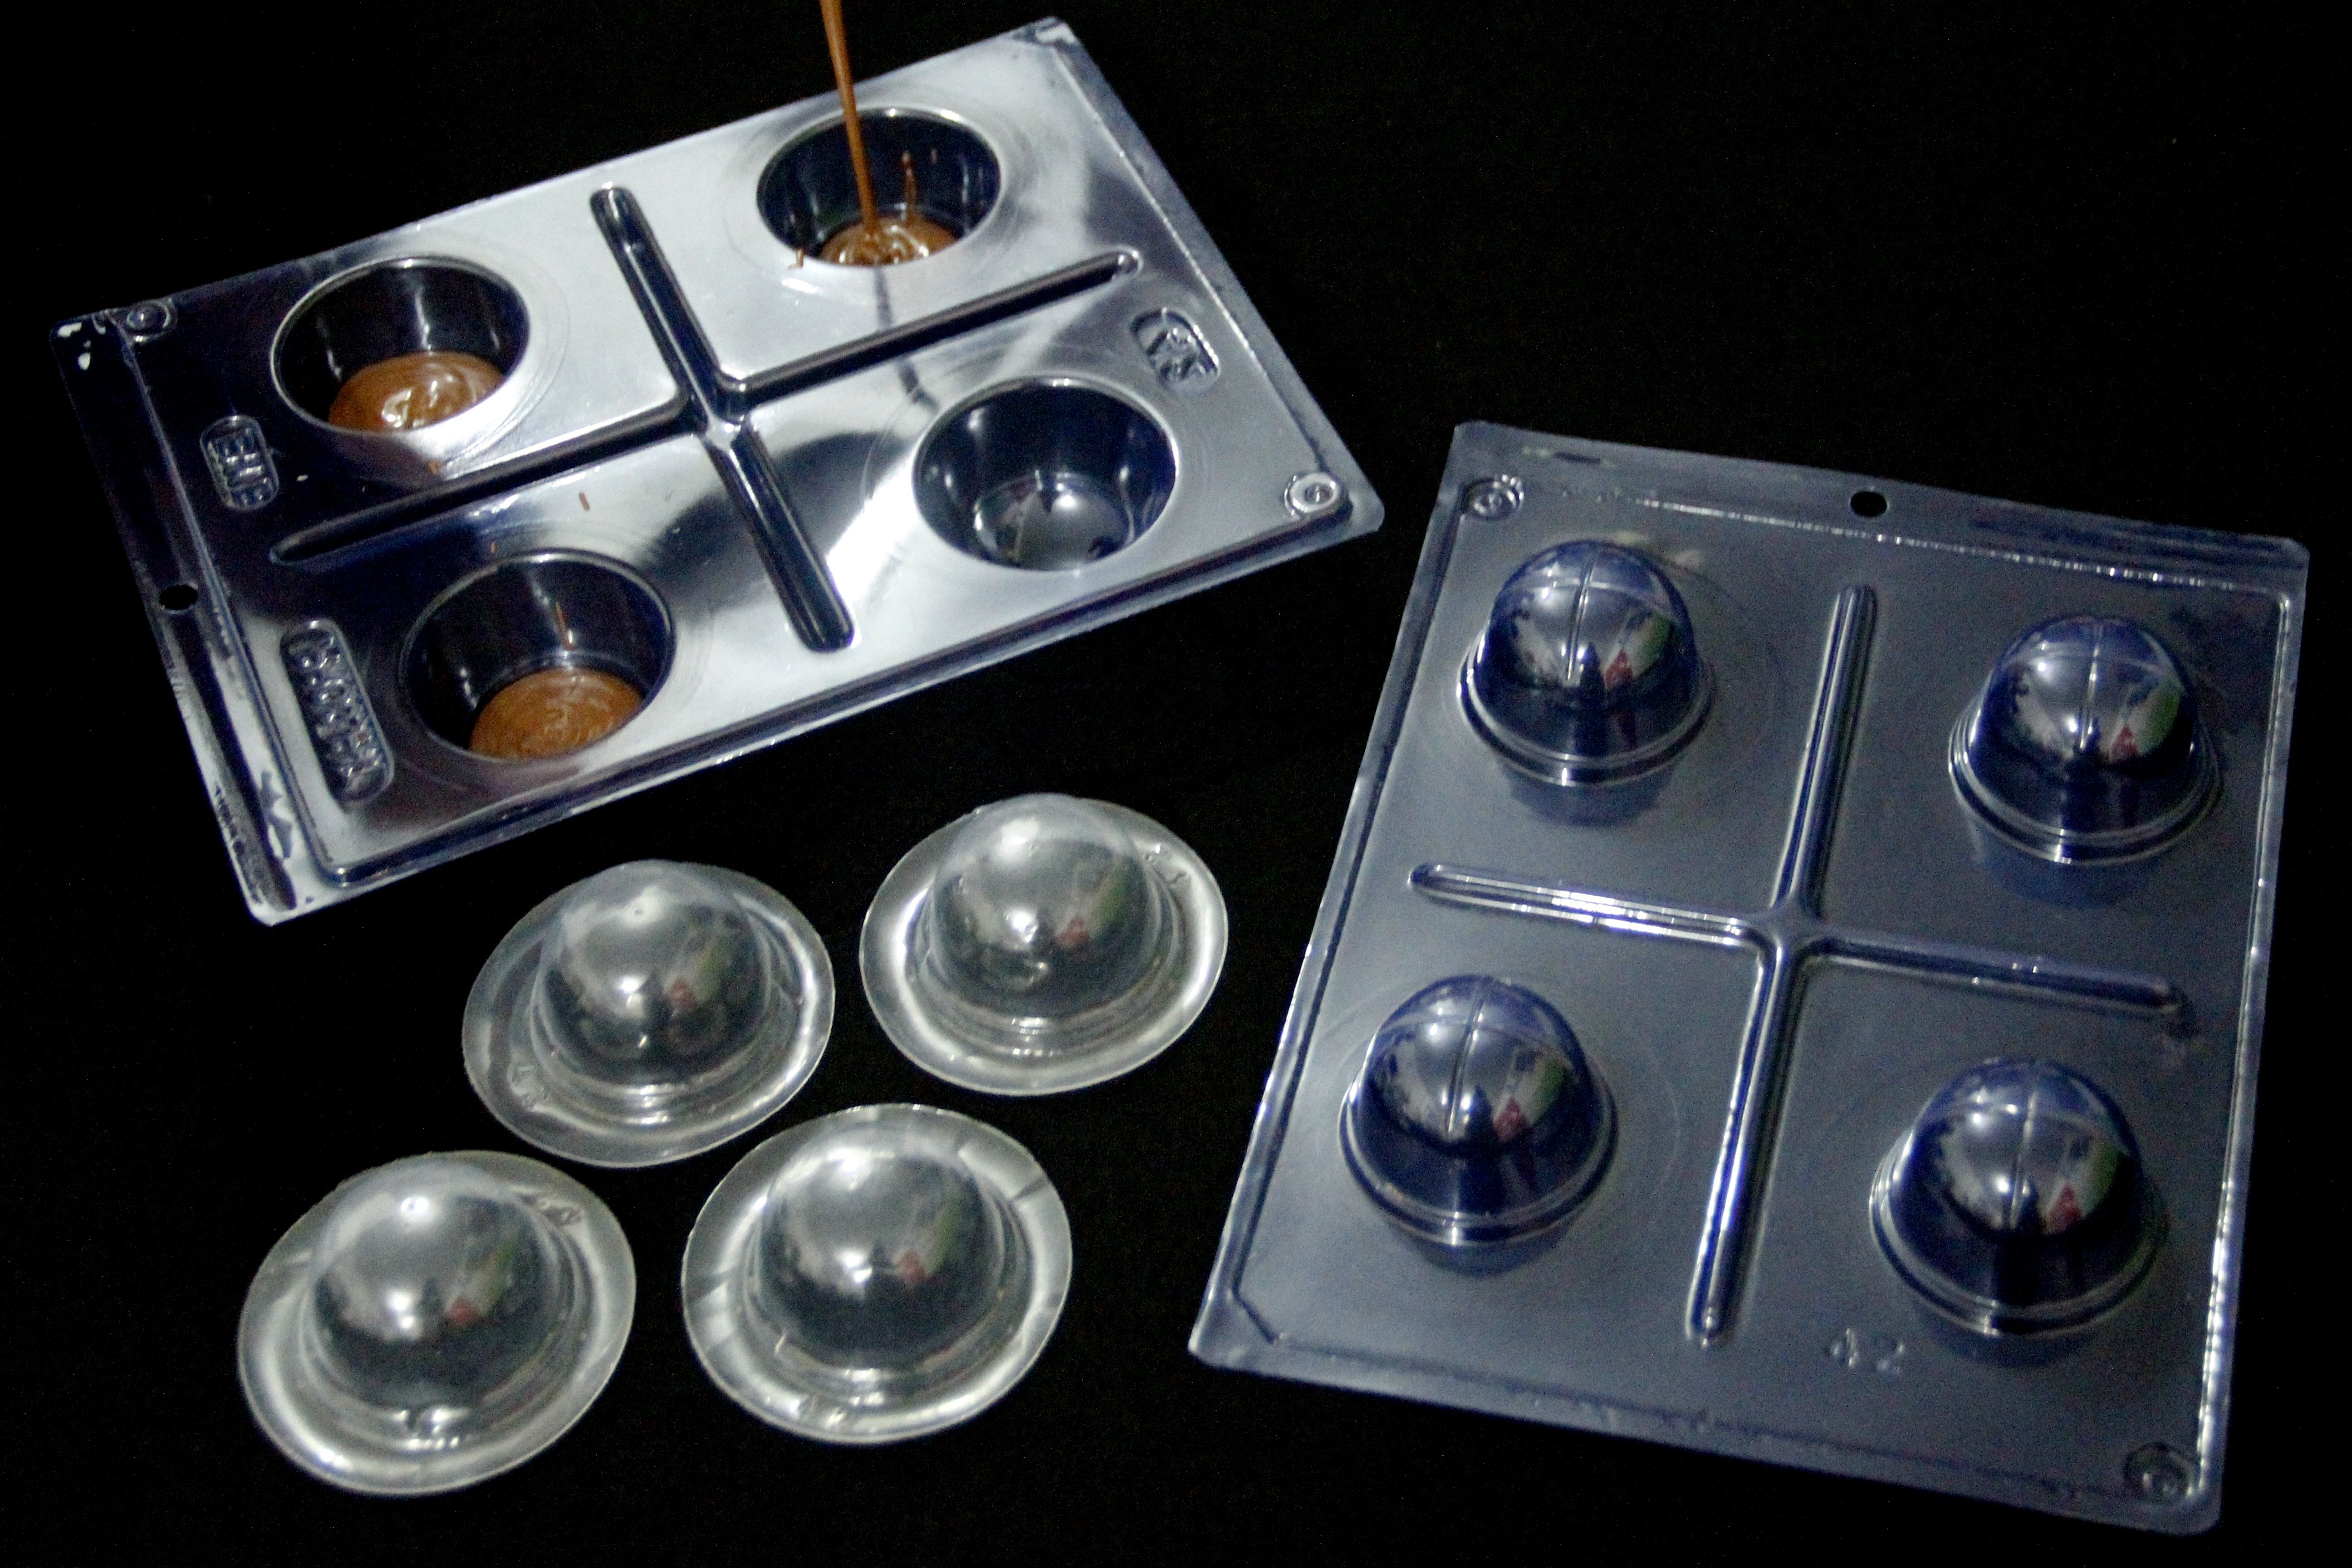
A Brazilian manufacturer, BWB, had a genius idea for a chocolate mold to make bonbons, filled chocolate cups, and more with extreme ease. Say "goodbye" to spinning a chocolate mold up, down, and around trying to coat the walls with chocolate.
BWB chocolate molds allow you to create perfect bonbon shells, chocolate cups, and many other designs with ease, perfection, consistency, and without wasting precious melted chocolate.
For those selling chocolates, this means that every product you make with a certain mold will use the exact same amount of chocolate every time for every unit. For those making chocolates for fun, this means that you will look like a pro even if you've never used a chocolate mold in your life.
All special chocolate molds made by BWB work the same way with their same original design. As of the writing of this post, ViaCheff is the only authorized distributor of BWB products in the USA.
So, let's get to it. Here's a step-by-step guide on making chocolates using BWB's 3-part special chocolate molds:
1- BWB's Special Molds are made of two hard plastic parts and one silicone insert for every cavity of the mold. The cavities on the bottom part of every special chocolate mold come with a fill line for your melted chocolate. Fill the bottom piece of the mold with melted chocolate to the fill line to have a perfect fill every time and avoid wasting chocolate. We personally love using Mavalerio's Brazilian premium chocolate coating. It's the easiest and tastiest melting chocolate we've ever had. PRO TIP: For a more perfect finish, tap the mold on your countertop a few times to remove air bubbles that might still be in the chocolate.
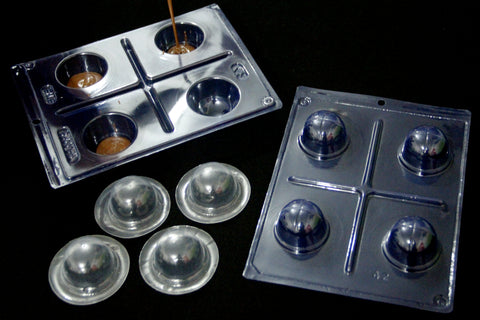
2- Gently place the silicone inserts on top of the melted chocolate in each cavity. Don't push down on them quite yet.
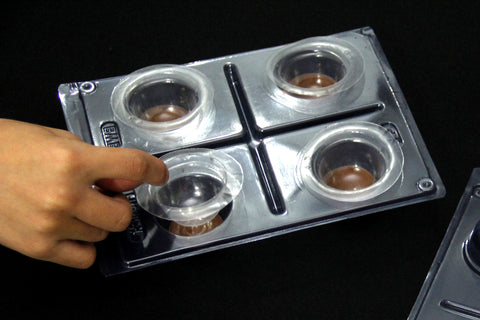
3- Place the top plastic piece over and into the silicone insert and bottom piece so that they fit back together like a puzzle piece. Press down gently, allowing the chocolate to fill the shape of the cavity.
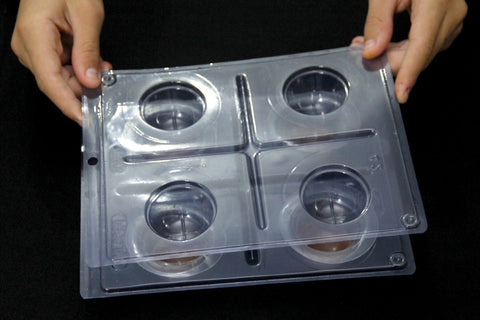
4- Turn the mold with the flat surface down and make sure the melted chocolate has filled each cavity fully. You can use your hands to ensure the entire cavity is filled with chocolate. Set it like this in the refrigerator for 10-20 minutes.
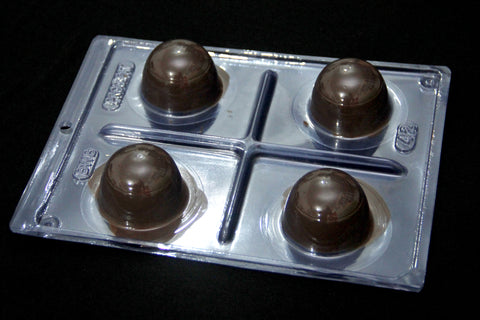
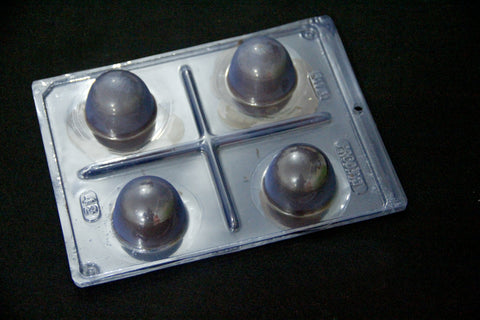
5- Knowing when to take your chocolate out of the fridge is important. You will know that your chocolate is ready to come out of the fridge when it no longer looks shiny like the picture above but somewhat opaque like the picture below. If there are any shiny parts on the cavity, that means the chocolate is still stuck to the mold and will either refuse to come out from the mold or even break if you try to take it out. Let it rest in the fridge until the entire shape is opaque.
6- Turn the mold back around and gently remove the top part. If you are going to fill and close your chocolates, you want to gently remove the silicone inserts while leaving the chocolate in the bottom cavities. If you are serving your chocolate without having to seal the filling, you can remove it from the bottom cavity and then remove the silicone inserts.
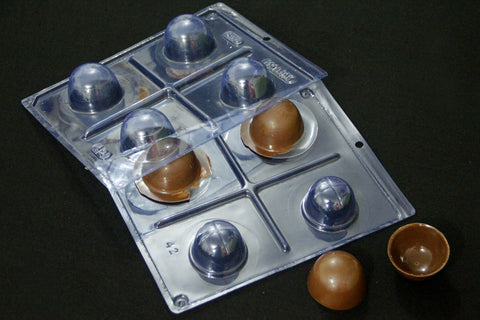
There you have it, folks. It doesn't get much easier than that. Now you can make chocolate and bonbons with your filling of choice like a pro. You can find a variety of special chocolate molds by BWB by checking out our available molds here.


