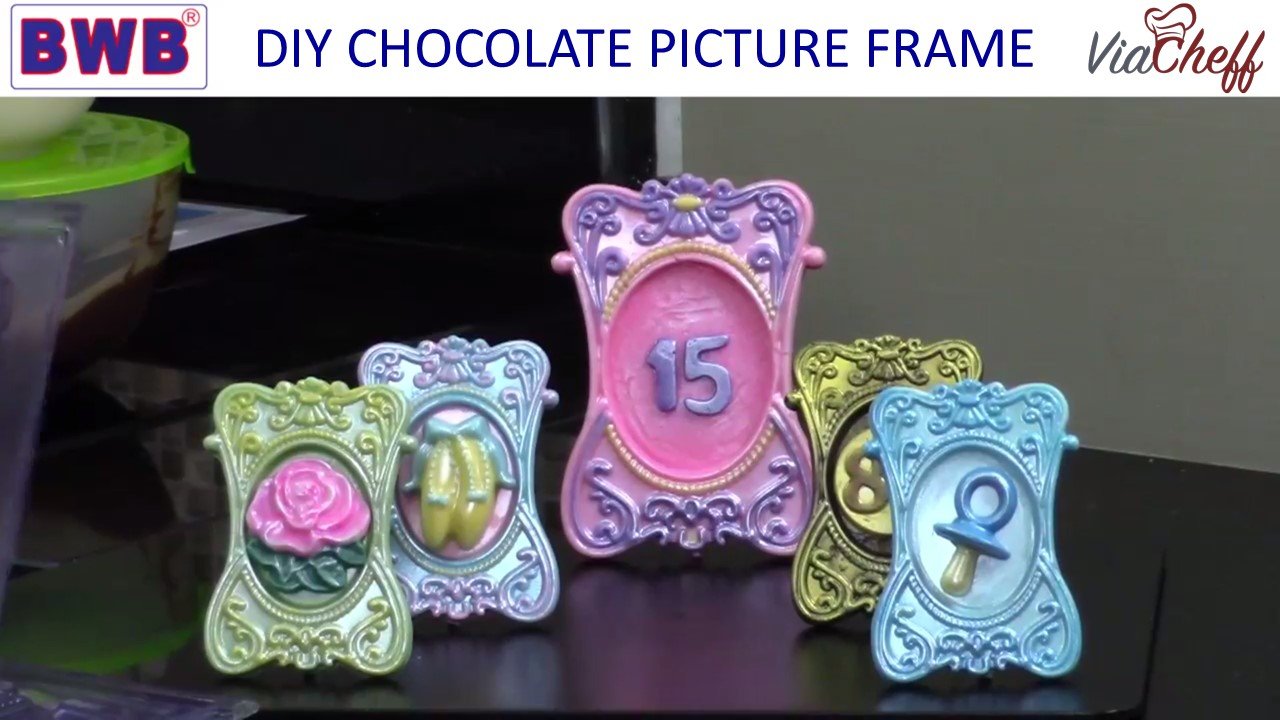
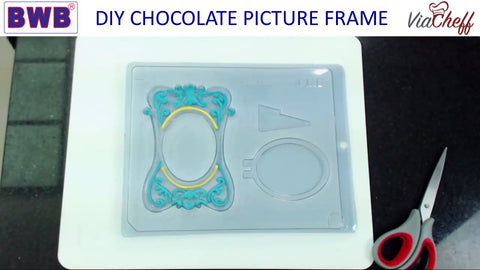
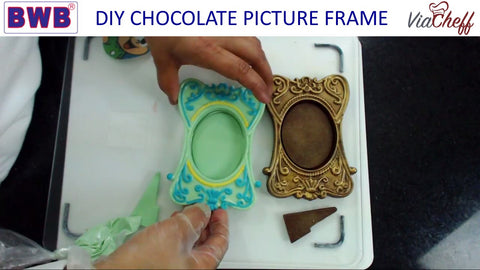
This week we are going to walk you through making these chocolate picture frames from home.
What makes these chocolate picture frames especially fun and easy to make are BWB's medium picture frame and large picture frame chocolate molds. Another product that makes the finished product especially shiny and beautiful is Mavalerio's Brazilian Premium Chocolate coating. Click on the links to purchase your mold and chocolate coating.
ViaCheff is the official authorized distributor of Mavalerio chocolates and BWB chocolate molds in the USA.
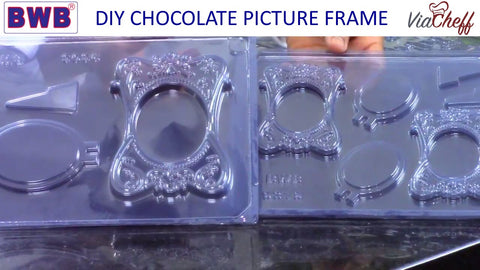
There are two sizes of picture frame chocolate molds. The large picture frame chocolate mold includes cavities for one picture frame. The smaller picture frame chocolate mold contains cavities to make two separate chocolate picture frames.
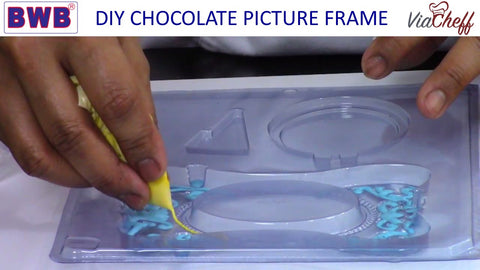
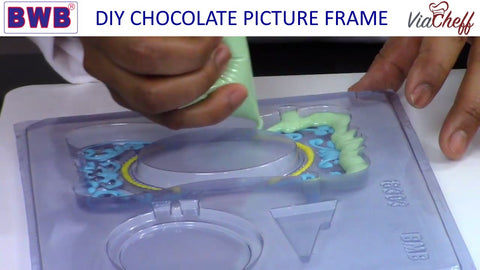
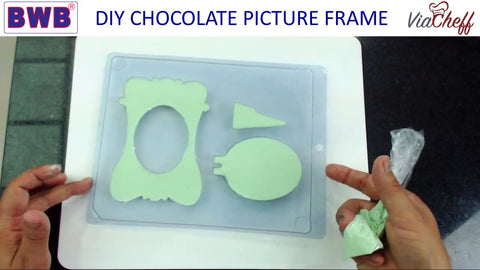
Step 1: Fill the details of the picture frame chocolate mold with the chocolate. You can choose whatever colors you like. We recommend using Mavalerio's white chocolate coating and color it using an oil based chocolate coloring. "But, ViaCheff, why can't I use pre-colored candy melts?" Well, you can. It's just that we think candy melts are too oily and leave your final product with a cheap taste and bad, oily texture in your mouth. If you want quality, do yourself a favor and use Mavalerio chocolate coating. There's a reason it's the only chocolate we sell. Those Brazilians know what's up when it comes to chocolate.
You can opt to save time by skipping the different colors and making the whole frame the same color. You also don't have to use colored chocolate. Feel free to make it using regular white, milk, or dark chocolate.
It works well to use a cake decorating bag or a sandwich bag to get into the details of the mold. Be careful not to put too much chocolate into the details and spill over into the main part of the chocolate mold.
Use as many colors as you'd like to make the frame your own creation.
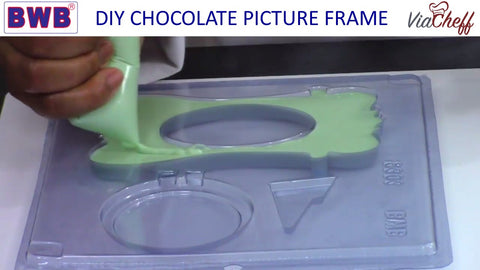
Step 2: Fill in the rest of the mold with the chocolate color of your choice.
It's important to fill the mold all the way to the brim.
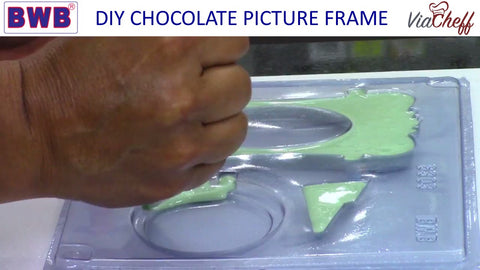
Don't forget to fill in the the other cavities in the mold so that your picture frame will be able to sit up on a table. All the cavities need to be filled all the way with the melted chocolate.
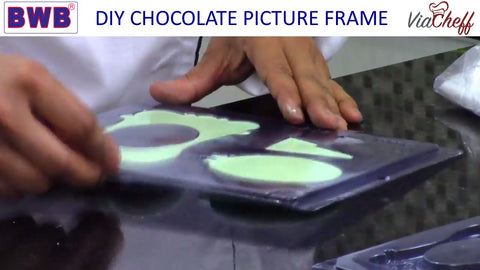
Step 3: This is an important step to obtain a smooth and shiny final product. Grab the mold by the edge, pick it up, and slightly hit it against the table to spread the chocolate evenly and remove any air bubbles from the melted chocolate.
Step 4: Take the mold to the fridge for about 10-15 minutes or until the chocolate loosens from the mold.
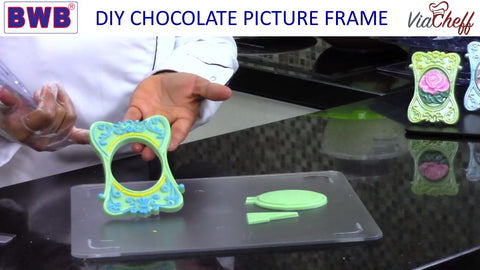
Step 5: Carefully remove the hardened chocolate from the chocolate mold.
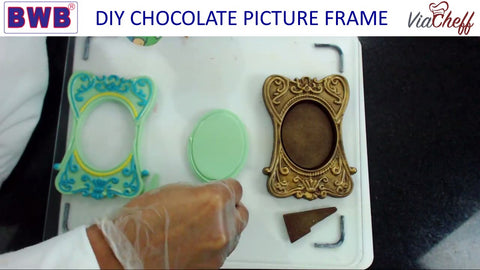
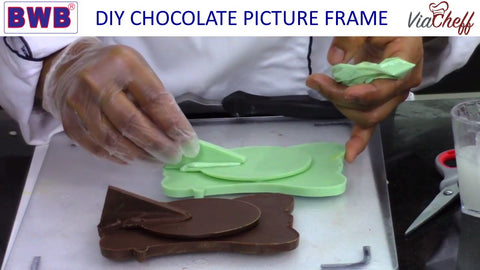
Step 6: Begin assembling the parts using melted chocolate of the same color. Start with the oval part and use it to cover the opening in the picture frame from the back.
Finish with the triangular piece, which will serve as support to allow your chocolate picture frame to stand up.
There is so much you can do to make this chocolate picture frame unique. Get yours today in our online store and have it shipped right to your door anywhere in the USA, Canada or UK! Shipping to other countries available soon. Don't forget to get your chocolate, too!
When you make your mold, post it on instagram with #ViaCheff and tag us @via_cheff.


